The temptation: hobby servos
The first instinct — and the one a lot of DIY mower builds reach for — is
a pair of large hobby servos. They're fast, they're precise, and the firmware to drive
one is a single PWM line. We seriously considered them. The problem is that mowing a
long row holds the controls at near-full deflection for minutes at a time, and hobby
servos are spec'd for movement, not for parking against a continuous load.
Hold a hobby servo at stall against a return spring for a 4-hour mow and you cook the
windings.
The duty-cycle reframe
Our first pass at the math said we needed a 100% duty cycle actuator.
The reasoning was: the operator holds the controls forward for minutes at a time, the
actuator is "working" that whole time, so a 25%-rated unit will overheat. We
went looking at industrial 100%-duty offerings — bigger motors, thermal paths,
$400+ per unit.
Then we noticed the property of ACME-screw linear actuators that broke the argument:
they self-lock under load with zero motor current. The screw thread
holds whatever position the motor reached, indefinitely, against any load below the
static rating. That means the duty cycle only accrues during movement —
the brief pulses to extend, retract, or correct — not during the long minutes the
control is being held. In real mowing, the actuator is moving maybe 5–15% of the
time. A consumer-grade 25%-duty actuator with the right force rating is plenty.
That reframing collapsed the budget by an order of magnitude and freed up the speed
axis — which mattered, because the slower the actuator, the longer the stop
distance when the operator releases the controls.
The tradeoff is real, and it's worth being honest about. Self-locking ACME means
there's no mechanical return path if an actuator dies. If the motor seizes or
the driver hangs while the actuator is parked forward, the screw holds — the
mower keeps driving until something else stops it. A 100%-duty industrial servo cylinder
with a back-drivable ball-screw (more on those further down) actually spring-returns
on power loss; that's a mechanical failsafe baked into the geometry, and we don't get it.
We accept the tradeoff because the engine-kill chain — not the actuators themselves
— is our primary safety-critical stop path. If the lap bars stop responding, killing
the engine kills the drive. The actuators are the day-to-day control surface; the engine-kill
is the structural failsafe.
Class
Continuous use?
Why it works (or doesn't) here
Hobby servo
No
No self-locking — cooks windings under a held load
ACME-screw actuator (25% duty)
Yes, in this app
Self-locks at hold — duty only accrues during transitions
Industrial 100%-duty actuator
Yes
Overkill for an ACME-screw application; pay for capability you don't use
The bigger pivot: not the lap bars, the pushrods
The original plan was to mount actuators against the lap bar handles — the
obvious place, because that's where the operator's hands go. We measured the spring
force at the handle: 25 lb. Picked an actuator. Then realized
that 25 lb wasn't actually the right number to size the actuator from.
Lap bars are levers. A 25 lb push at the handle gets multiplied (or divided) by
the lever ratio before it reaches the pushrod that actually controls the swashplate
on the hydrostatic pump. Worse, leaving the lap bar mechanism in place means the
actuators have to fight slop in the linkage joints, the lap bar pivots, and the rod
ends — all of which add error to closed-loop position control.
So we pivoted: tie the actuators directly into the hydraulic lever pushrods,
and disconnect the lap bar mechanism entirely. Cleaner mechanically, fewer
moving parts, and the operator's manual fallback path (grab the lap bars and drive)
goes away — which is what we wanted, since this is a full drive-by-wire build.
The engine-kill safety chain is the failsafe; the lap bars don't need to be one too.
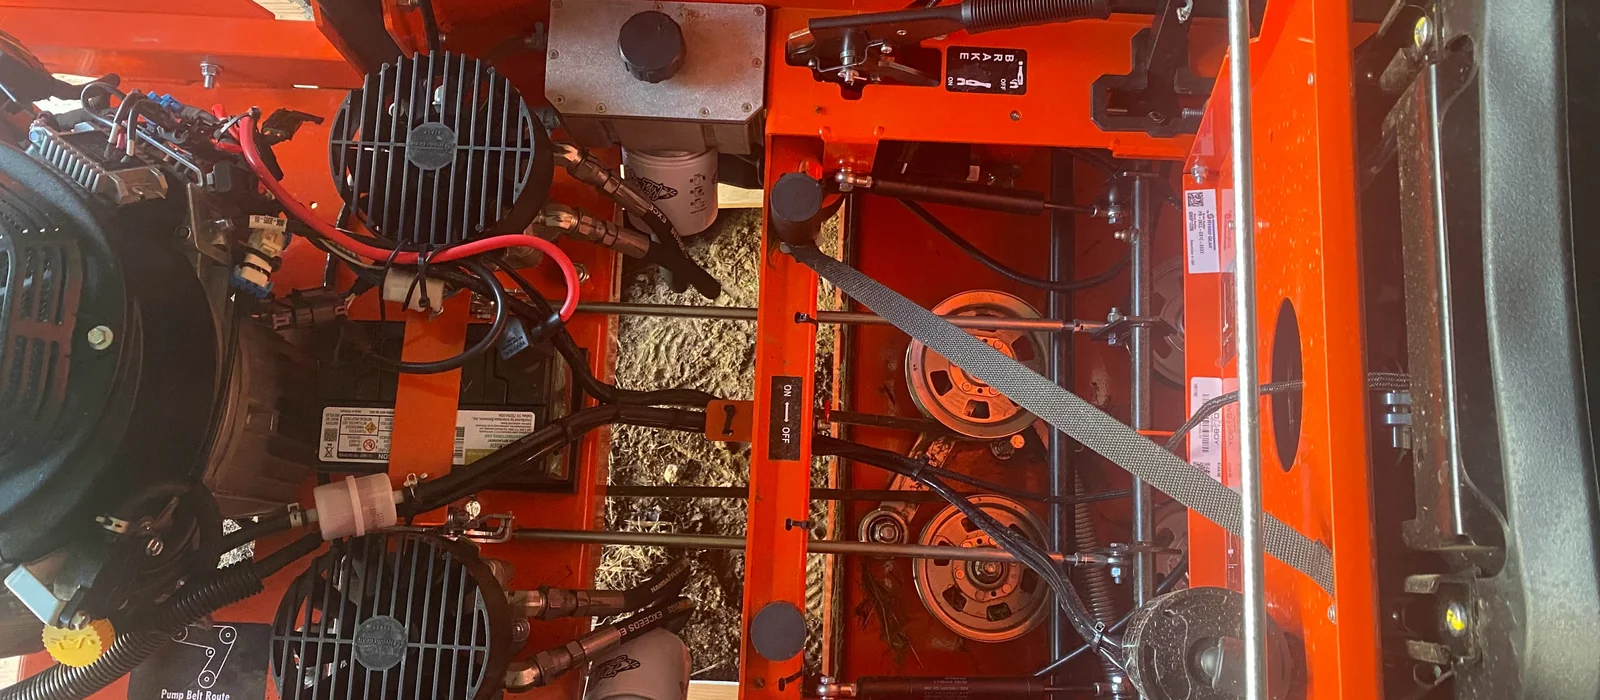
Re-measuring at the pushrod
With the lap bar mechanism unbolted from the pushrod, we put a fish scale directly on
the pushrod end and pulled it through its full travel:
- Travel: 1″ in each direction from neutral — 2″ total throw
- Peak force: 25 lb against the swashplate return spring
The pick: PA-01-4-56-POT-12VDC
After three rounds of spec-shopping (the
Build Log has the receipts), we landed on the
Progressive Automations
PA-01, 4″ stroke, 56 lb force tier, with potentiometer feedback,
12 VDC. Why this specific configuration:
- 56 lb force × 25 lb measured = 2.24× margin, comfortably above the industry rule of thumb
- 4″ stroke × 2″ needed = 2× margin for mounting geometry tolerance
- 1.02″/sec at full load, faster no-load — gives a stop distance of ~6 ft at 5 mph mowing speed once the swashplate spring assists the retract
- 10 kΩ linear potentiometer included for closed-loop position control on the Teensy — absolute reading, no homing routine needed on power-up
- IP65 native — no bellows boot needed for outdoor mower duty
- ACME self-locking screw — the property that made 25% duty cycle adequate
- ~$160 each, $320 for two — the cleanest balance of speed, force, feedback, and IP rating in this price tier
Two units, one per pushrod. The actuator's neutral position is mid-stroke (2″
extended); operator-commanded forward and reverse map to 75% and 25% of the actuator's
travel range, leaving 1″ of margin at each end for bracket misalignment.
The two we benchmarked it against
Two other configurations made the short list before we landed on the PA-01. One was a
near-miss; the other we'd have ordered in a heartbeat at half the price. Side by side:
Spec
PA-01-4-56-POT
LACT2P-12V-10
Ultra Motion A2 (e.g. A2PZ8B-B0M0E0)
Stroke
4″
2″ (1.97″ usable)
up to 7.75″
Force
56 lb
55 lb
270 lb cont. / 530 lb peak
Speed (loaded)
1.02″/sec
0.9″/sec
up to 14″/sec
Op. temperature
5° to 40°C
−25° to 65°C
industrial-grade
Feedback
10 kΩ pot
10 kΩ pot
contactless absolute (Phase Index®)
Duty cycle
25%
not specified
100% continuous
Self-locking?
ACME (yes)
yes (holds unpowered)
configurable: ACME or ball-screw
Control interface
PWM / H-bridge + analog
PWM / H-bridge + analog
CAN 2.0B / RS-422 / 4-20 mA / ±10 V
Price each
~$148–160
$193
$1,500–$2,500
Pair total
~$320
~$390
~$3,000–$5,000
LACT2P-12V-10 — the near-miss
Concentric/Glideforce
LACT2P-12V-10
via Pololu. Same force class as the PA-01, same IP rating, same feedback type, similar
self-locking behavior. The one place it actually beats the PA-01 is operating temperature
range — −25° to 65°C vs the PA-01's 5° to 40°C window —
which would matter if we mowed in late-fall frost or 100°F+ summer afternoons.
Two things killed it. First: its 1.97″ usable stroke equals our 2″
pushrod travel exactly, which leaves zero margin for bracket misalignment,
end-fitting tolerance, or wear. The actuator would slam its limit switch on every
full-stroke command. The PA-01's 4″ gives us the documented 2× margin. Second:
it's 30% more expensive than the PA-01 ($193 vs $148). Worse stroke
margin and a higher price isn't a trade you make. The apples-to-apples LACT family
upgrade is the LACT4P-12V-10 (4″ stroke), but at that point the price gap shrinks
and you still take a small hit on speed and stall current.
Ultra Motion A2PZ8B-B0M0E0 — sweet specs we couldn't justify
The Ultra Motion A2 servo cylinder is a fundamentally different class of product, and
the specs are genuinely beautiful: industrial servo cylinder with contactless absolute
position feedback (no potentiometer wear path), field-oriented control of a brushless DC
motor, 100% continuous duty, configurable as either self-locking ACME or
back-drivable ball-screw, with a choice of CAN 2.0B, RS-422 serial, 4-20 mA, or
±10 V control inputs. Software-defined end-of-stroke limits replace
mechanical limit switches.
The case for it isn't subtle:
- Back-drivable ball-screw option: a failed actuator would spring-return rather than locking the pushrod wherever it died.
- CAN bus control: the Teensy could bypass the analog ADC pot-feedback path entirely and read absolute position digitally over a noise-immune bus.
- 100% duty cycle: the entire ACME-screw-self-locking duty-cycle argument from a couple sections up becomes irrelevant. It just runs.
- Phase Index® contactless feedback: no wiper pot to wear out over years of vibration.
The case against it is the price tag: $1,500 to $2,500 per unit, depending
on configuration. Two of them is $3,000 to $5,000 — for one mower's drive actuators
alone, not counting the PTO. The PA-01 covers the same control job at roughly one tenth
the cost. We took the savings and put them into LIDAR, RTK GPS, and compute, where the
dollars buy more capability than they would on actuator over-engineering.
If this build were destined for a customer or shipping as a kit to other people, the
calculus would shift — the A2's reliability margin and back-drive failsafe earn
their keep when you can't personally service the machine. For a one-off build where the
engine-kill chain handles the actual safety-critical stop, the PA-01 is the right tool at
the right price.
Driving them: Basicmicro RoboClaw 2x15A
The PA-01s are dumb DC motors with built-in limit switches and an analog wiper pot for
position. They need an external H-bridge with closed-loop control to drive them safely
— current limiting, soft starts, holding a target setpoint without the motor
buzzing. We could build that around discrete MOSFETs and have the Teensy run the PID
loop in firmware, but at this scale it's a board-spin and soldering project for
something that already exists as a tested off-the-shelf product.
We're using a
Basicmicro RoboClaw 2x15A
— a dual-channel DC motor controller built for exactly this kind of robotics
drive. The features that mattered for our pick:
- Two channels, 15 A continuous / 30 A peak per channel — one board drives both actuators with ~5× headroom over the PA-01's 4 A stall current
- 6–34 VDC input — fed straight from the mower's 12 V battery rail through an inline fuse
- Onboard PID position and velocity loops with potentiometer / quadrature encoder / hall sensor inputs — the PA-01's pot wiper feeds the RoboClaw directly, and the position loop closes locally at high frequency. The Teensy just sends target setpoints
- Per-channel current sensing — detects stall conditions (actuator hitting a mechanical jam) and trips a configurable overcurrent shutoff before anything melts
- Multiple control interfaces — TTL serial, USB, RC pulse, simple analog. We're using packet serial from the Teensy at 38400 baud
- Temperature monitoring + thermal shutdown — the board protects itself in a way the Teensy + discrete MOSFET path wouldn't have for free
- ~$109 retail — about a third on top of the actuator pair, but it replaces a soldering project with a battle-tested product
The architecture this enables is clean: the Teensy owns high-level safety logic
— deadman watchdog on the Xbox controller, kill-chain integration, mode
arbitration between manual and autonomous — running its own loop at 1 kHz.
The RoboClaw owns low-level motor control at higher frequency, with current sensing
and stall detection running locally with no host involvement. If the Teensy hangs or
the serial link drops, the RoboClaw's command-watchdog times out and brings both
actuators to a stop on its own; the ACME self-lock then holds position until power is
cut. Two layers, neither layer trusting the other to stay alive, both layers
failsafe-by-design.
On the bench: actuators in hand, fabricating push-arm mounts
The PA-01 pair landed 2026-05-08. With the cylinders in hand against
the chassis, the bracket geometry stops being a CAD problem and becomes a fabrication
problem.
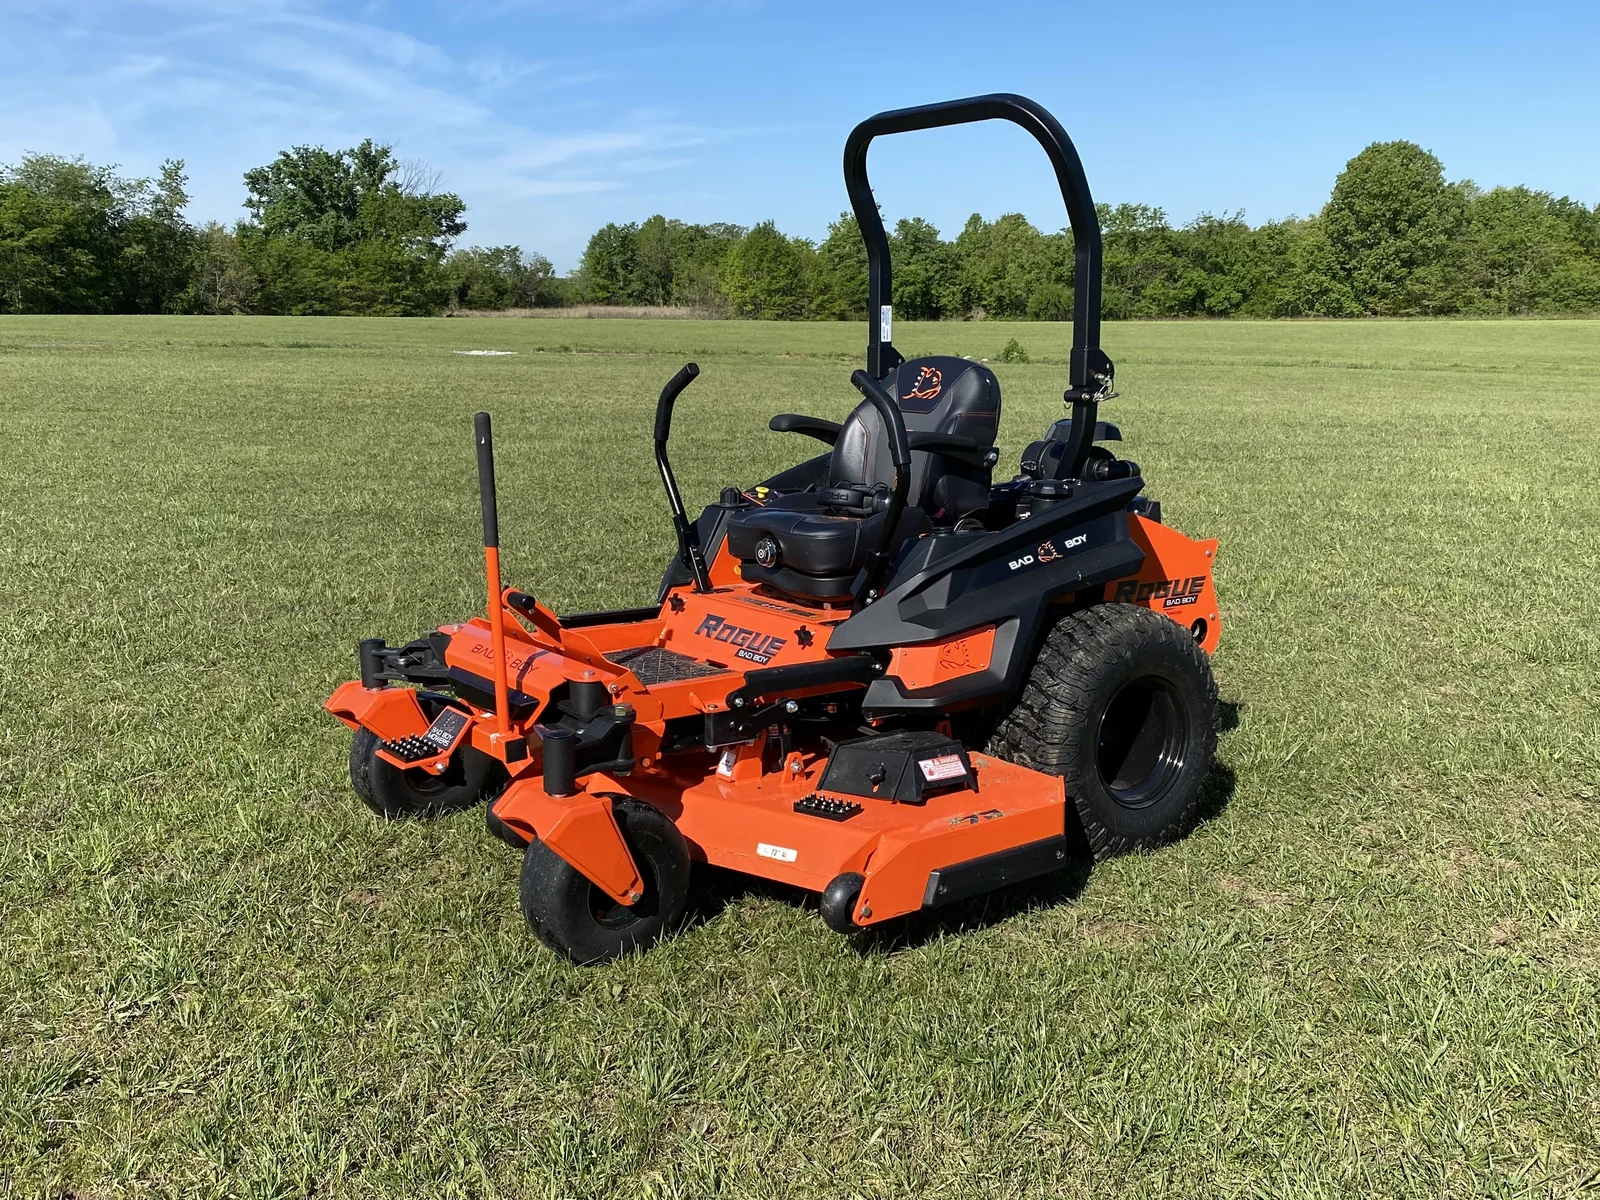
The mechanical correlate on a stock Bad Boy is the
push-arm assembly — Bad Boy Mowers part #035-0004-00 — the
steel bar that links the lap-bar pivot to the hydro pump's swashplate lever. It's a
single-piece member with no flex points along its length, and that's the rule we're
carrying into our own swing arms: solid end-to-end, no pivots, no rod-end joints
anywhere in the load path between the actuator clevis and the swashplate input.
Every joint we leave in there is a place where bracket flex, bolt slop, or rod-end
backlash bleeds error into the closed-loop position signal — exactly the failure
mode the pushrod-direct pivot was meant to
remove. So both ends — the bracket that anchors the cylinder body to the chassis,
and the bracket that ties the actuator clevis into the swashplate input — get
fabricated as beefy, fully-welded reinforcement plates, not bolted-up
sheet-metal sandwiches. Heavier than they need to be is the right error to make.
The RoboClaw 2x15A ships Monday (2026-05-11). Until it
lands the actuators stay on the bench. First power-on is the bench-supply step:
12 V regulated, both cylinders driven through full stroke, neutral-point parking
verified at mid-stroke, current draw measured under spring load, and the onboard PID
tuned to hold setpoint without hunting.
The PTO clutch is its own animal
Engaging the blades is a single 12 V solenoid clutch — binary on/off,
switched by a logic-level MOSFET behind a flyback diode. We kept this dirt simple on
purpose: when the safety system says "blades off," there's exactly one wire to
interrupt.